If you’re thinking of giving your kitchen a makeover, painting your cabinets is a great way to achieve a new look without breaking the bank. This blog post will show you how to paint your kitchen cabinets in 5 easy steps!
I). Remove all cabinet doors and hardware
To do this, first, unscrew all of the hinges and then carefully remove the doors. Next, remove all of the handles and knobs from the cabinet doors and drawers. If you’re planning on painting your hardware as well, label each piece, so you’ll know where it goes when it’s time to reassemble your cabinets.
Clean the surfaces of your cabinets. Once all of the doors and hardware have been removed, it’s time to clean your cabinets. Be sure to use a gentle cleaner (diluted dish soap or white vinegar will work) so as not to damage the surface of your cabinets.
II). Sand down the cabinets’ surfaces to ensure the paint will stick
After cleaning the cabinets, you’ll need to sand them down in order to create a smooth surface for the paint to adhere to. Start with medium-grit sandpaper and work your way up to fine-grit paper.
Once you’ve finished sanding, wipe down the cabinets with a damp cloth to remove any dust particles. Sweep the floor beneath the cabinets to avoid any paint drips. Clear the area, so you have plenty of space to work.
III). Apply a coat of primer to the cabinets
Before painting your cabinets, it’s essential to apply a primer. A primer will help the paint adhere to the cabinets and create a smooth finish. There are different kinds of primers available, so be sure to choose one that is suitable for use on cabinets. An oil-based primer is a good option.
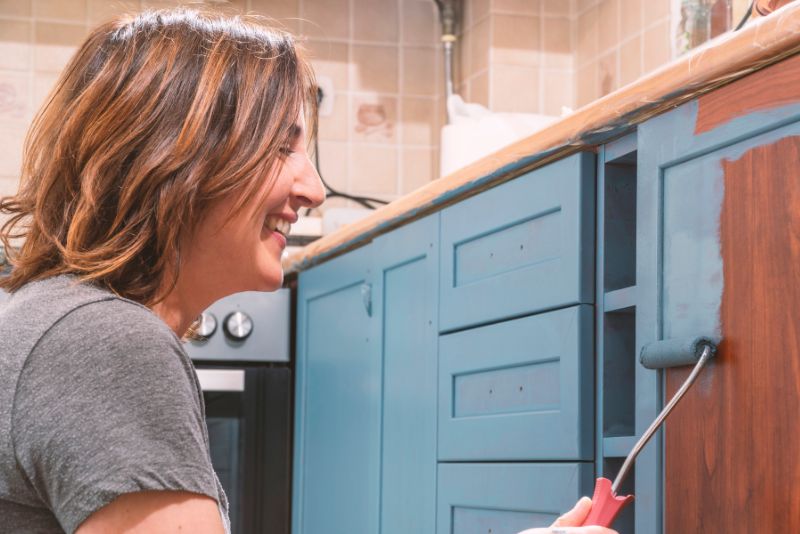
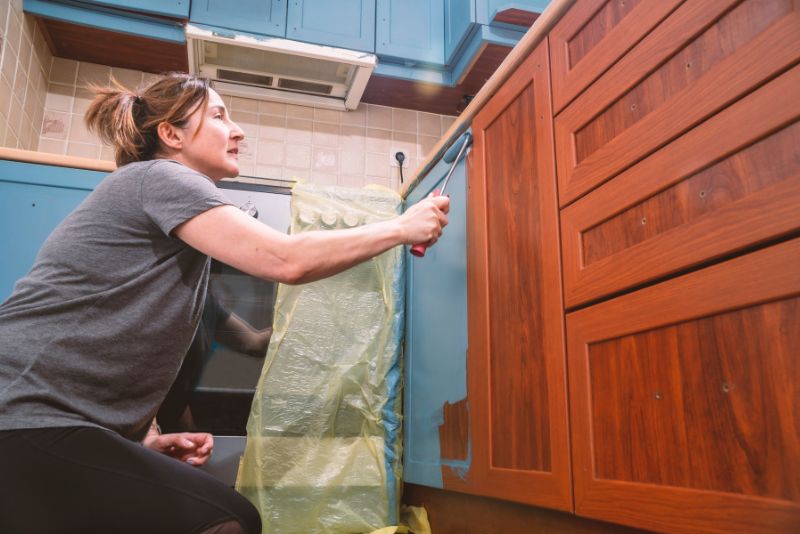
IV). Paint the cabinets using your desired colour and paint brush or roller
Once you’ve applied the primer and it has dried, you can start painting your cabinets. Use a brush or roller to apply the paint evenly across the surface of the cabinets. Use a brush or roller to apply the paint evenly for the best results. If you’re using a brush, be sure to choose one that is made of natural bristles. Start by painting the most visible areas and then work your way to the less visible ones.
Allow the paint to dry completely before applying a top coat. After the paint has dried, you can apply a top coat to protect the paint and give it a nice shine. You can use a clear polyurethane or varnish for this. Apply the top coat evenly and allow it to dry completely before using your cabinets.
V). Reattach the cabinet doors and hardware, and admire your new look
You have to wait for the paint to dry and set for at least 24 hours before you can use your cabinets. But once it’s all dry, you can reattach the cabinet doors and hardware. Then stand back and admire your handiwork! You now have a beautiful new kitchen that looks fresh and modern. And it only took a few hours to achieve!
If you have ample space outside your kitchen, you could get a kitchen deck from Decking Perth to complete the whole look.
Takeaway
If you’re looking for a quick and easy way to update your kitchen without spending a lot of money, consider painting your cabinets. It’s a project that can be completed in just a few hours, and the results are fantastic. Just make sure you follow these simple steps to ensure a professional-looking finish.